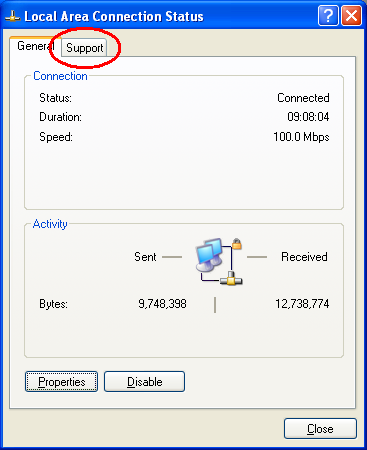
1. Double click the network icon to open up your network connection
properties.
![]()
Note: If this icon is not available from your system tray, go to Control Panel ->
Network Connections -> Your Local Area Connection (name may differ).
2. Click the Support tab.
3. Click Details.
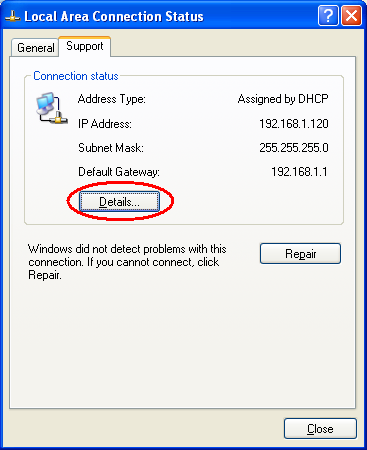
4. It is important to write down all these details.
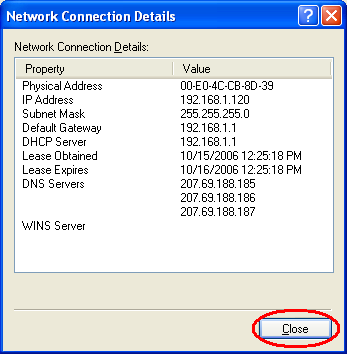
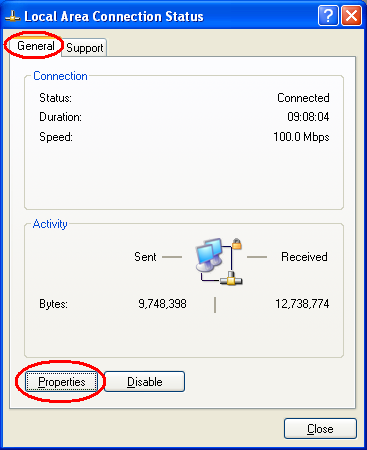
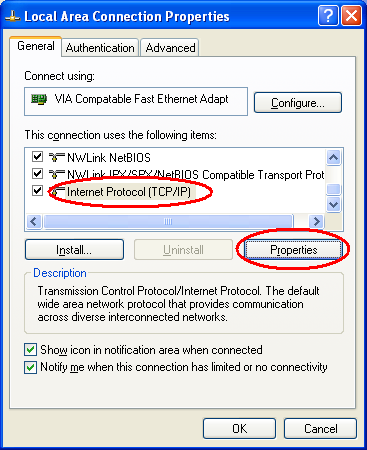
5. Close the Details window. Go back to the General tab and click Properties
at the bottom.
6. Select your TCP/IP item and click Properties.
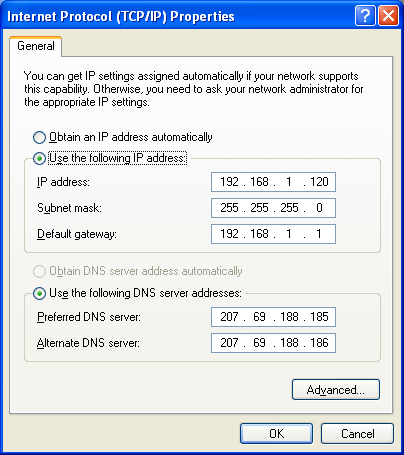
7. Select Use the following IP address and Use the following
DNS server addresses.
![]()
8. Fill the values in with the information from the
details you wrote down, except for the IP address.
Note: Check your router's setup for the DHCP server's starting IP addresses. For
instance, if it starts IP addresses at 192.168.1.100, it would
be wise to set your IP address at least 192.168.1.120. This way
there is no conflict between IP addresses for computers on the
network.
9. Click OK to close the windows.